Images of the Creative Process
From Inspiration to Design to Finished Work on various art projects...
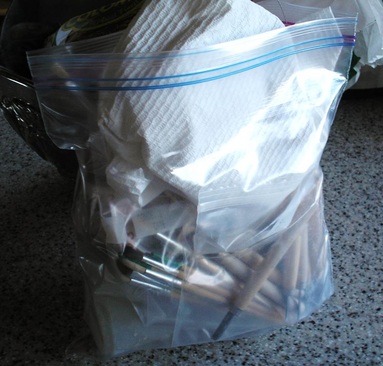
Clay Art -Step 1: Keep your tools together.
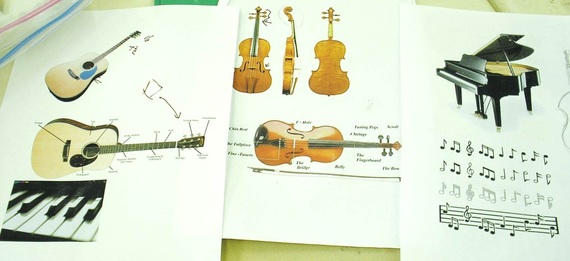
Step 2: Decide your design and gather Reference Images.
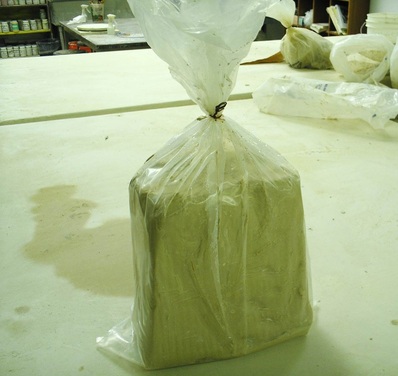
Step 3: Get the clay (Warning -pretty dang heavy).
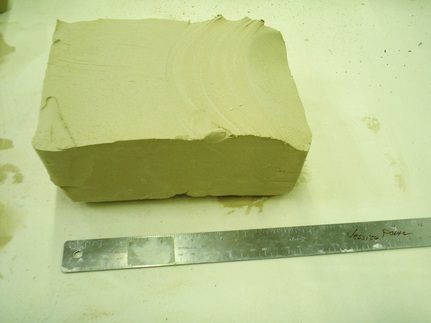
Step 4: Segment the clay chunk and measure it out.
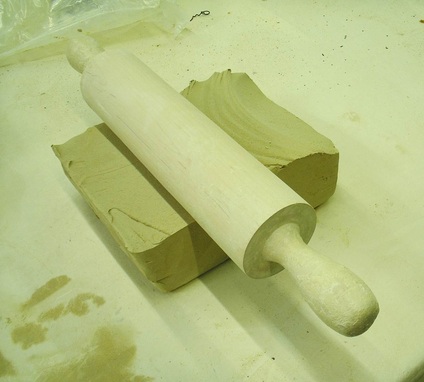
Step 5: Beat like a pizza pie until flat.
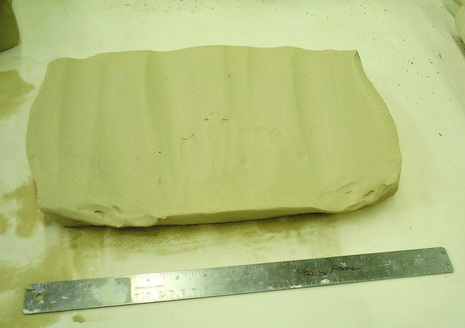
Step 6: Make sure the height is no taller than 2 inches.
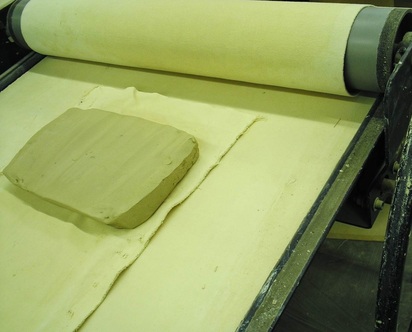
Step 7: Formally introduce the clay to the press.
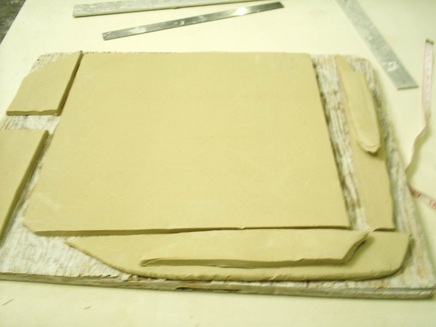
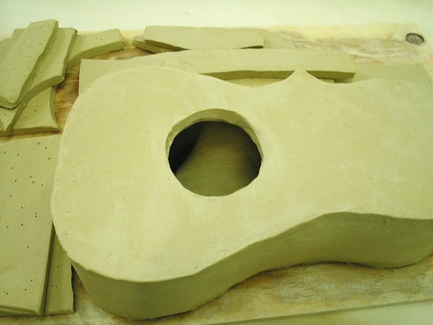
Step 8: Once flattened, cut into desired (basic) shape.
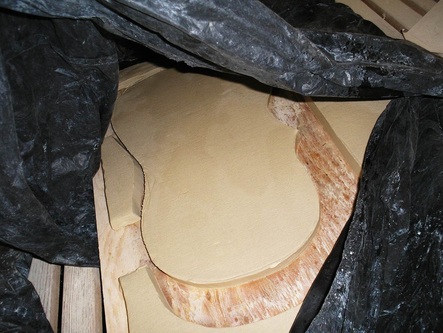
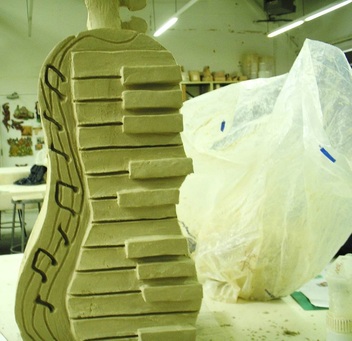
Step 9: Put clay (and wooden board) into a garbage bag.
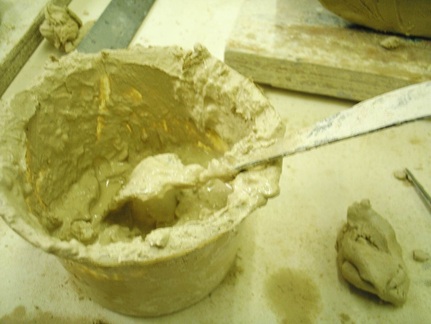
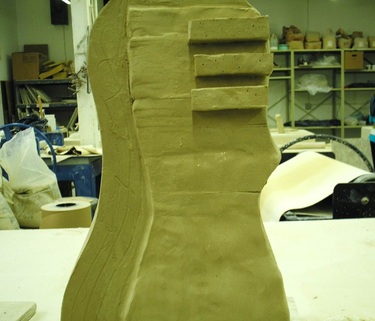
10. Once clay feels like leather, carve out exact shapes and start carving sides and applying "slip" (above image).
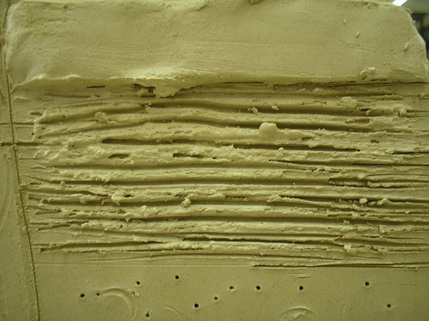
11. Go "crazy cat" along parts you want to attach clay to -like puzzle pieces put together- and use slip like glue.
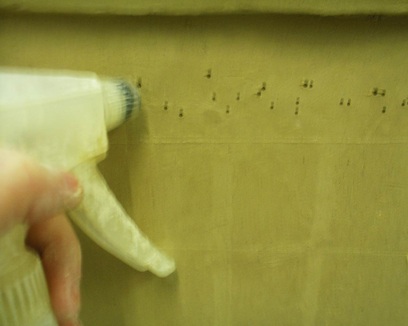
12. Add water to loosen areas by poking air holes and spraying water in.
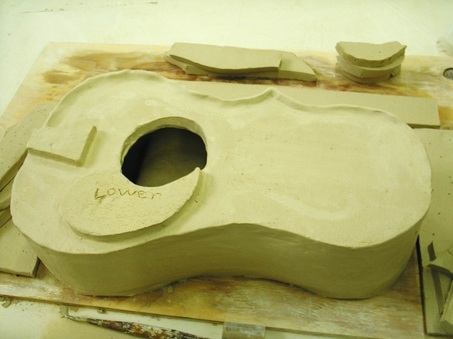
13. Start smoothing edges and adding extra layers on top after main pieces have been assembled.
14. Once piece has dried (after a day or two) start carving away where you want things indented.
15. Make sure piece is malleable and soft when adding.
16. Start refining and polishing.
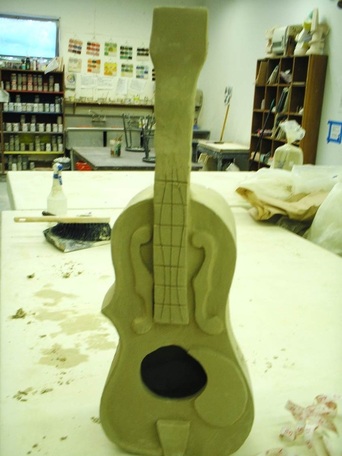
17. This entire process usually takes about a week or two.
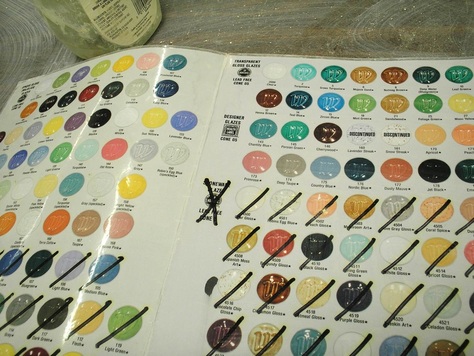
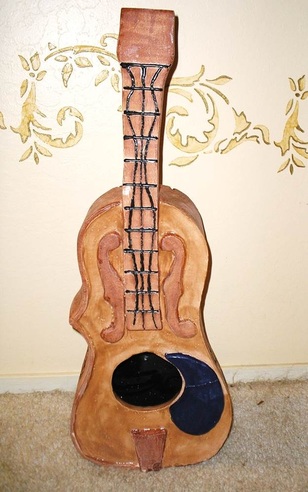
18. Once piece is finished, let dry until it becomes like stone. Start picking out desired colors (and textures) for glazes.
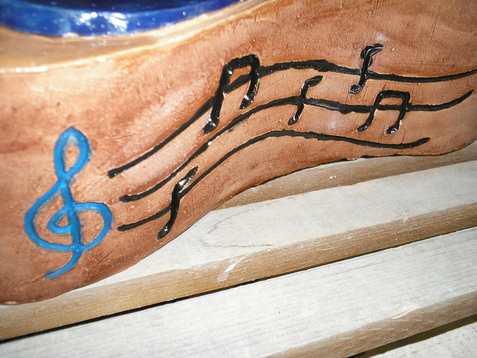
19. Try not to use more than 3 to 4 colors.
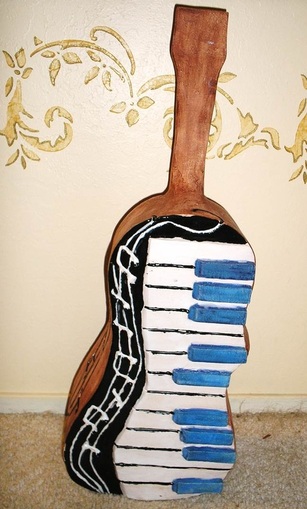
20. Behold! Your creation is complete.
21. The End. Good luck finding a place to put it...
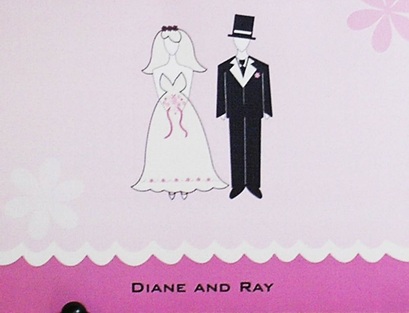
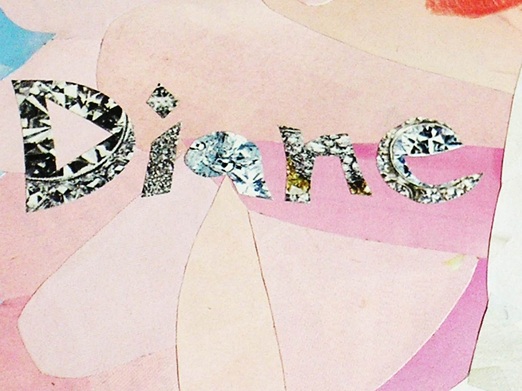
Project: Mosaic Collage inspired by Wedding Invitation (above) for a wedding gift to Diane & Ray.
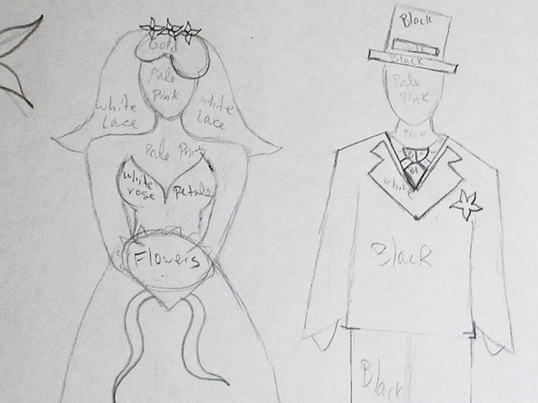
I drew the lovely couple and where I wanted the magazine clippings to go/ what color I wanted them to be.

I started filling in the drawing by gluing on slivers of colors cut from magazines.
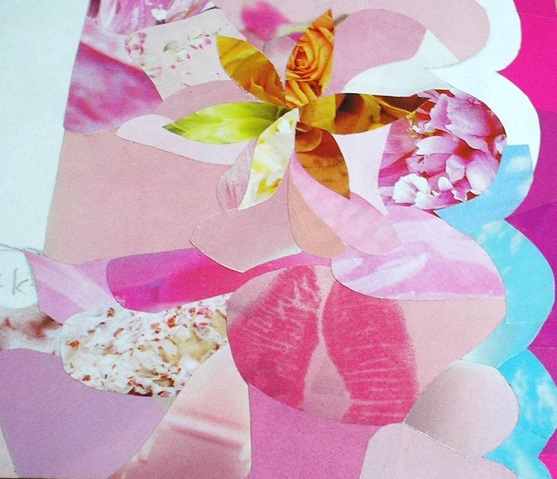
I added the color blue (made form images of sky) and yellow flowers (made from images of yellow flowers) to add a subtle "pop" of color.
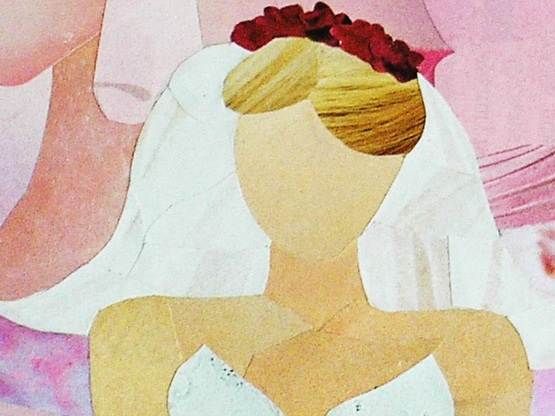
I used images of hair for her hair, skin for her skin, and white bridal gowns for her dress.
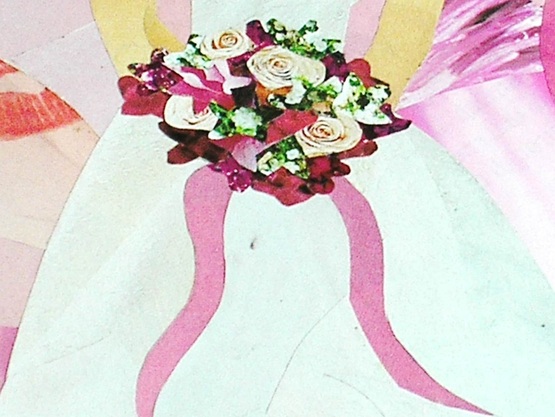
And yes, even individual flowers placed together for the bouquet.

And of course one flower for the groom to be classy.
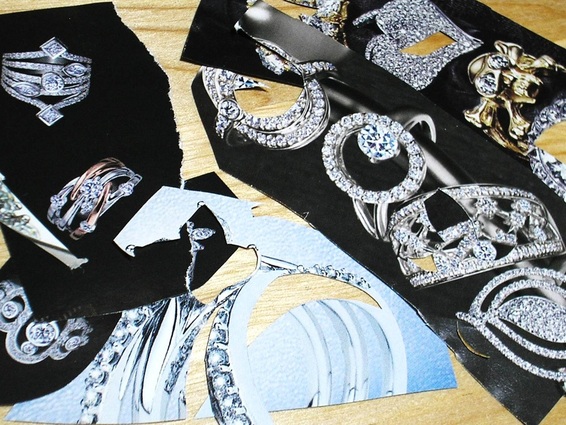
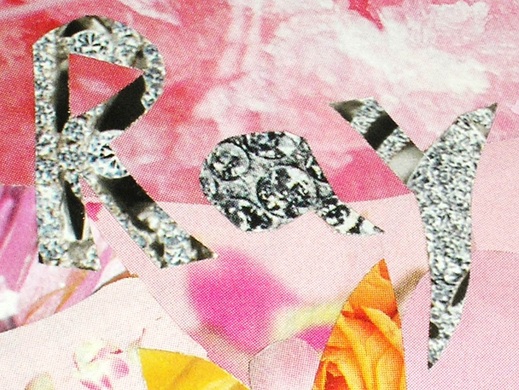
Then for the words "Diane & Ray" I decided to go with images of diamonds.
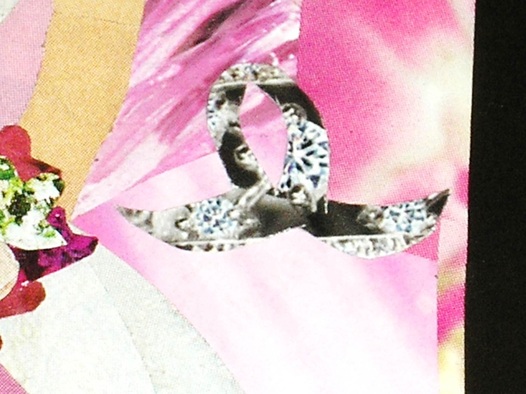
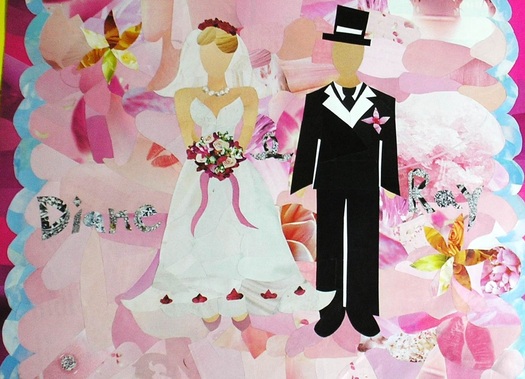
The final touch of jewelry: A pearl necklace for the bride.
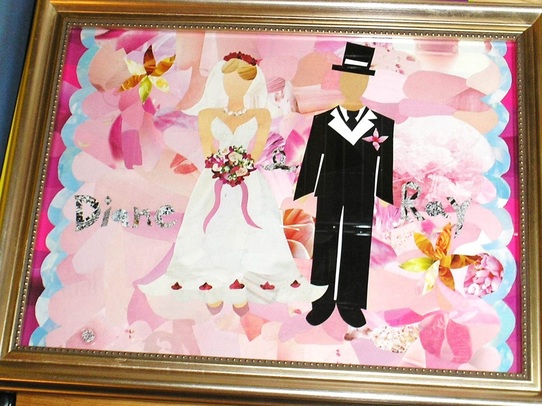
Then I put a frame on it. And gave it to the Bride and Groom.
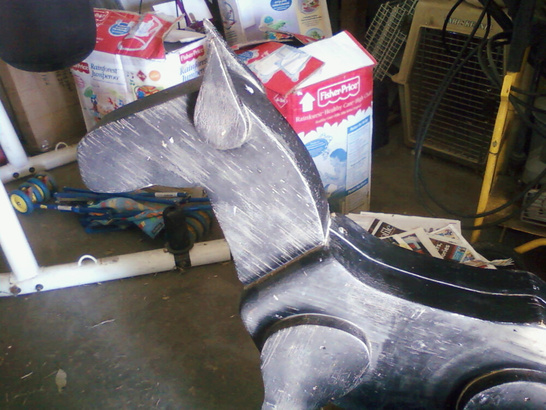
I was given a horse, of course.
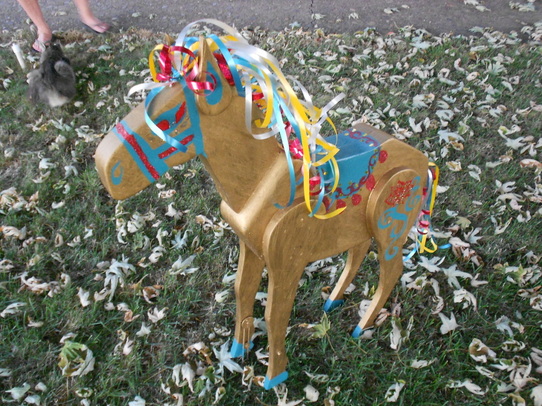
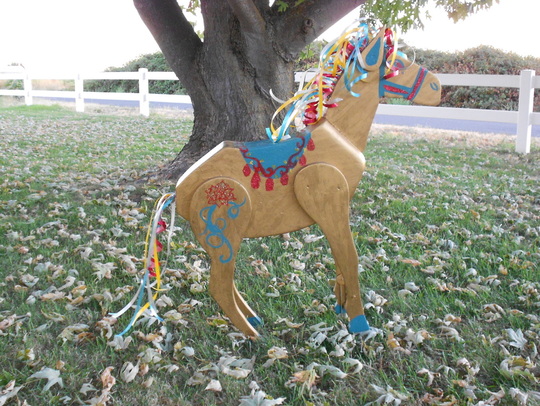
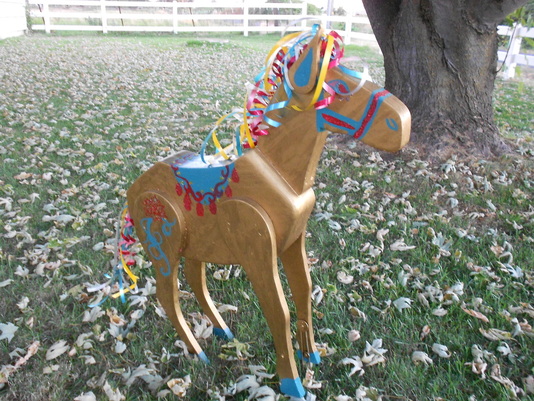
So I added balloon strings for hair and painted it gold. Now it's ready for a carousel...
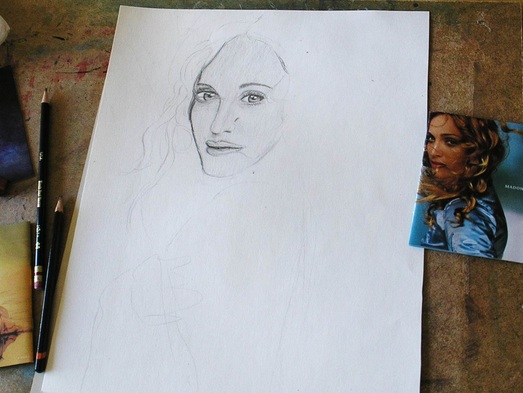
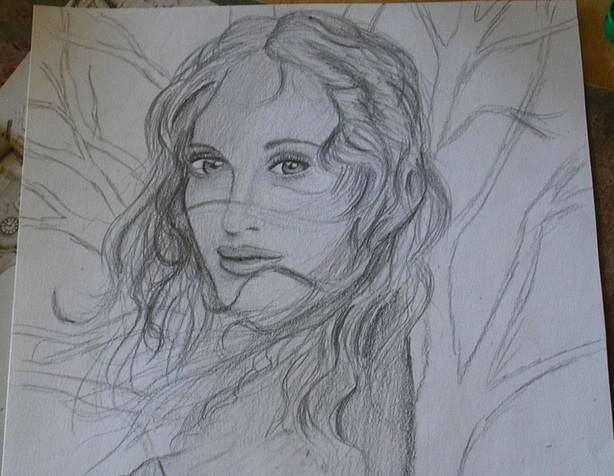
Madonna -Inspired Picture of a Woman by a Tree